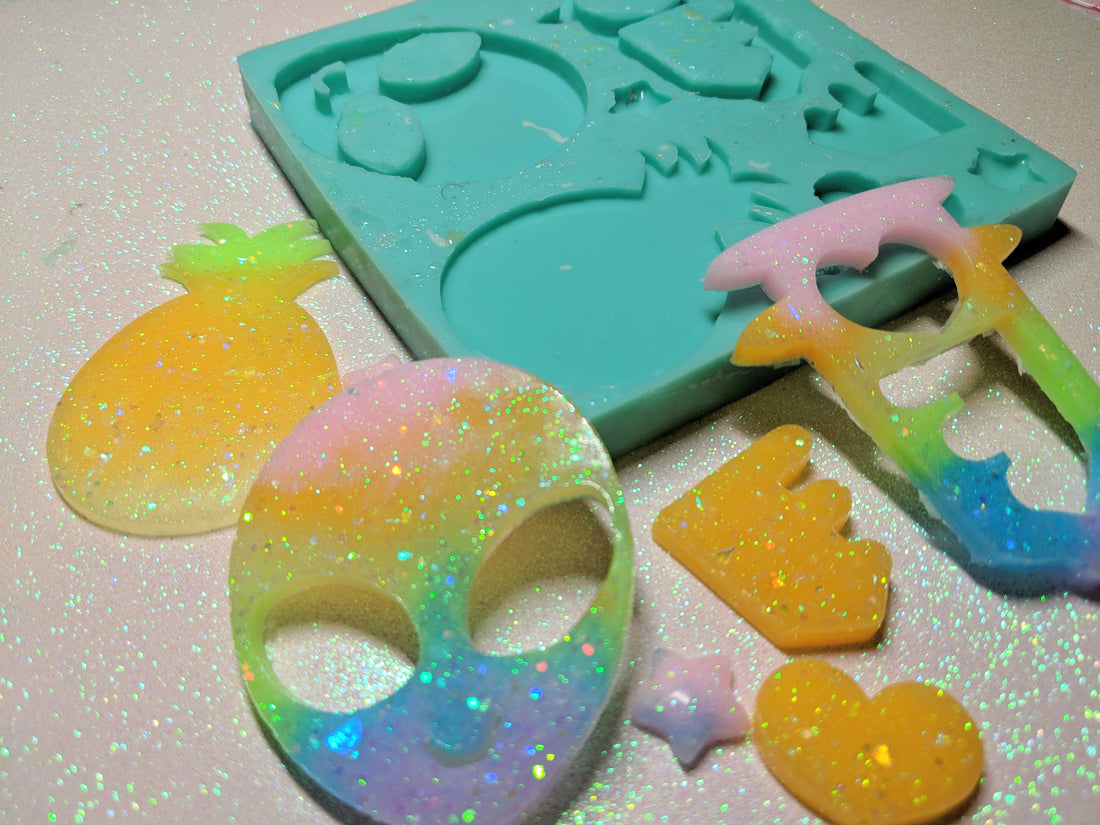
Ever wondered how I turned some of my own creations into a silicone mold?
The process is actually very easy!
Not a fan of blogs? Check out my youtube!
Heres a quick list of supplies you need:
-
Something to mold (see below on what I molded)
-
Silicone Mold kit (I recommend Mold Star 15 SLOW Moldmaking Silicone Rubber)
-
Contact paper or clear plastic tape
-
Glue Gun & Glue Sticks
-
X-Large Cookie Cutter or something for the mold to cure in
-
Bowl to mix silicone in
-
Stir stick to mix with
-
Scissors
-
X-Acto knife
Optional:
-
Cookie Sheet
-
Refrigerator
Check out my shopping list on amazon: vhttp://a.co/iXCZzdj
The first thing that I have to do is order in something to mold. Theres so many options when it comes to choosing something to mold. Some examples include 3D printing, molding something from clay, acrylic cut blanks, or even molding something already out there. Please keep in mind that you do not want to sell anything copywrited, or someone elses art (Its a big no-no in the community)! So I recommend using anything you order from China or even just Aliexpress in general.
Personally, I like to molds from custom acrylic blanks, this way I avoid making the same shapes as everyone out there while still having something big for resin. I also like using acrylic vs a 3D printer because I dont have to put an aditional layer of resin to ensure it is shiney! With 3D printing the texture isnt quite as smooth and even as a cut of acrylic, its also cheaper to order as well!
You can find a couple of shops out there to get something cut (Yumelixir & Kitycrylics for example) but I prefer to order from the shop Yokai Candy. Not only are they good friends of mine, but they also have great products, and quick turn around time. Some of the other shops you have to wait on a waiting list, however I have not had to wait longer than 1-2 weeks for Yokai Candy to respond & ship something out!
Alrighty! Now that you have everything ready to mold now heres the real tutorial! Yaaaay!
1. I recommend laying all of your pieces out and finding the best layout for all of them.
2. Once all of your pieces are set you only need to keep them in place with eirther contact paper or clear packing tape. Both will work for this project. Keep in mind each has their plus' and minus'. With the clear packing tape it creates such a nice bond with the pieces, however the end mold can create grooves or water marks. With the contact paper you get a nice, even, and flat top with your mold. However it is not as sticky as the paper tape so it might leak if they dont create enough of a bond. I suggest if you use Contact paper cut only enough to cover your layout and take off the paper seal only at the last minute. Also make sure the pieces are nice and dry so they create a better bond!!


